

I made this card for my Mom for Mother's Day. She's a quilter, and a fan of dragonflies. This card sort of incorporates the two. The dragonfly was cut from the Stamping Cricut cartridge. To give it a "quilty" sort of feel, I added the stitches around the edges with marker. Behind the cut-out, I used a technique called "Iris Folding", where you layer strips of folded paper working from the edges of the design into the center. It sort of gives the paper a quilted look.

You can find out the details of this technique at the bottom of this post. Layering all that folded paper does add a little bulk, but not as much as I feared. I covered the back side (which is on the inside of the card) with the butterfly B&T paper from the Wings Paper Pack. I think the "busy"ness of the paper conceals the thickness of those folds really well. You don't even notice it!

To finish off the front, I made an accordian flower and paired it with some Just Blooms flowers. The tag is something I created using the Unity stamp set for the background and the Tiny Typewriter alphabet to write "Mom".

I wasn't a huge fan of the Wings paper before this, but the green and black seemed perfect for this card.
Edited to add: Paper Cutz Challenge link & H2H link.
Info on the Iris Folding Technique follows.
Iris Folding Technique
1. Start by selecting a die cut image to fill with the folding technique. Mine is the dragonfly.
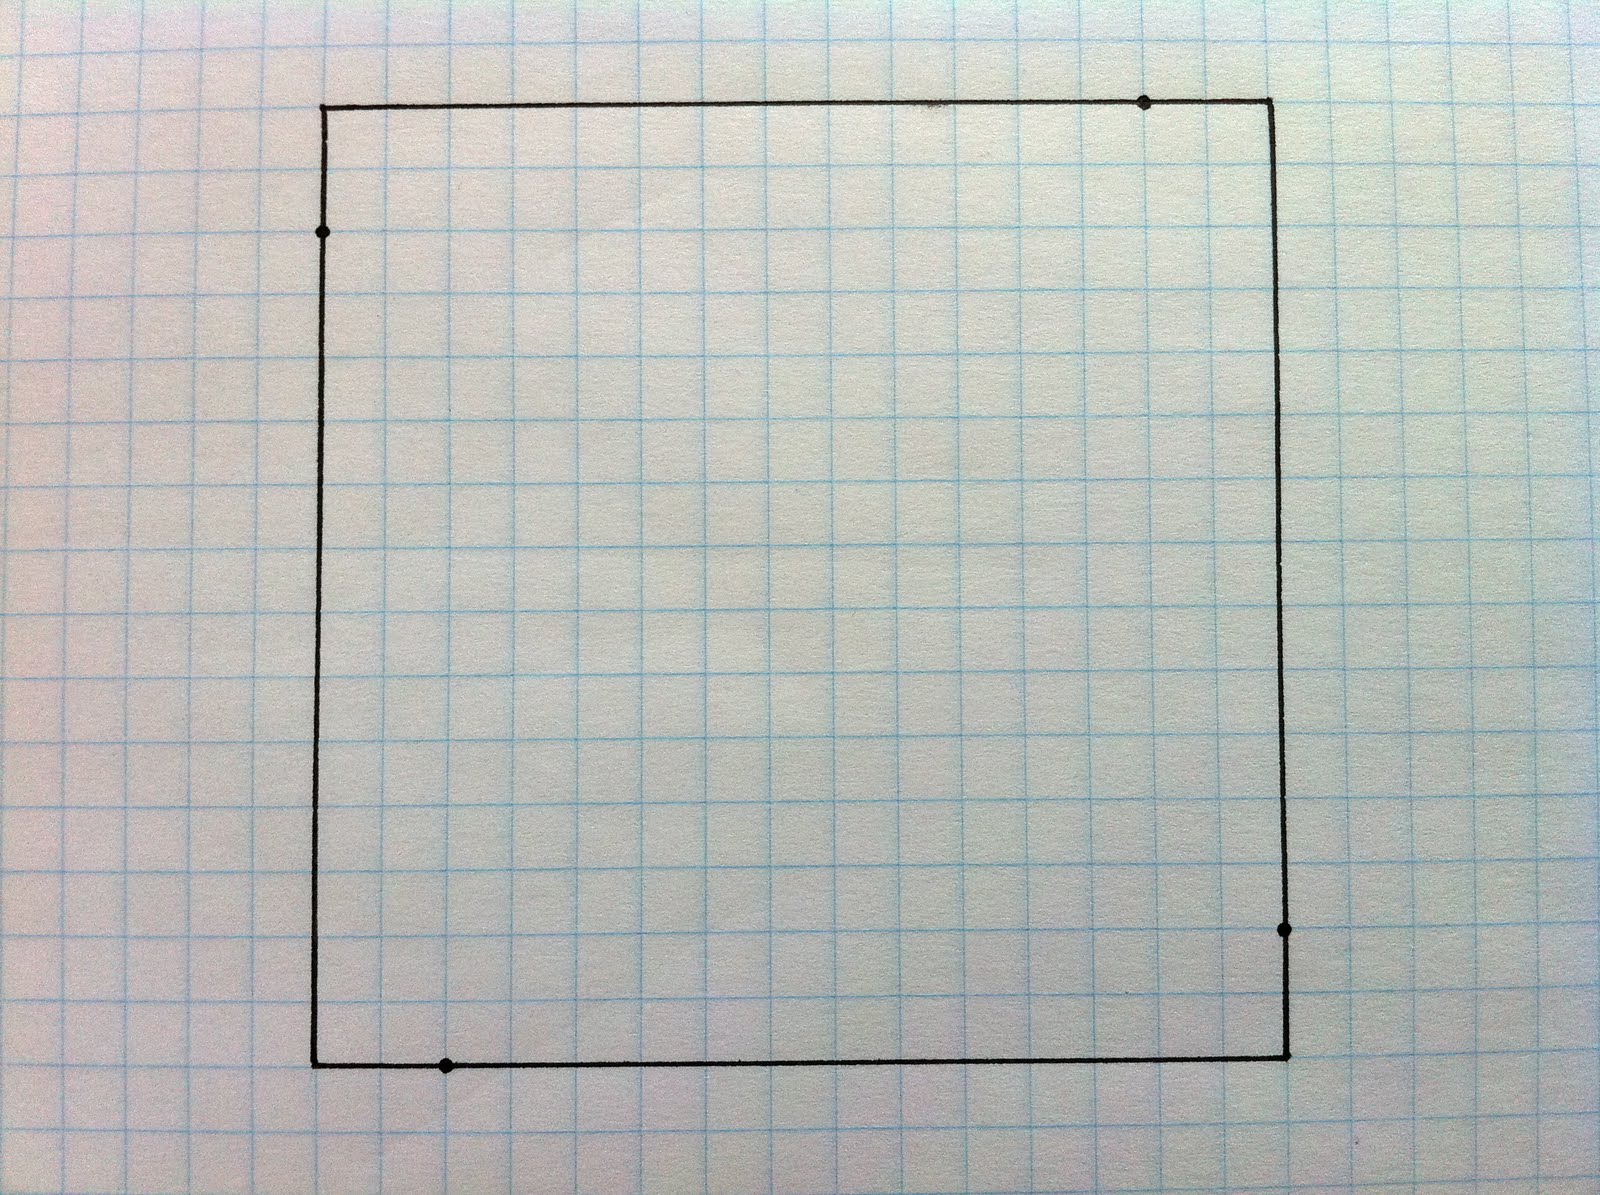
2. Once you know how large a space you are looking to fill, you create an Iris Folding template to guide you in placing your strips of paper. The template can be based on a variety of shapes. I went with a nice easy square. Draw a square large enough to cover your whole image.


6. Time to cut the strips of paper. You'll need strips that are more than twice as wide as the distance you used (1/2") to create the squares. I cut my strips at 1.25", and then folded them in half. The number of strips you'll need will depend on the size of your image.


7. Place your cut-out (front side facing down) on top of your template. Make sure to secure it so it will not move. Work from the outside of your image to the inside, lining up a strip of paper with each of the lines on your template. Cut sections from your strips of paper that are just long enough to cover the cut-out. The folded edge of the strip should face the center of the cut-out. Attach the strips with transparent tape.


9. The final piece covers the square in the center. I cut a piece with a dark green butterfly on it and centered that in the opening. Flip it over and see the finished product.


I've done Irish folding before, but never created my own pattern. I'm so impressed by your beautiful card- you did an amazing job!
ReplyDeleteSo beautiful! I love the dragonfly cut out and the Irish Folding technique you shared. It adds a nice pattern and texture under the dragonfly. Great Job! ~Amy
ReplyDeleteJust beautiful! *Ü*
ReplyDeleteWhat a beautiful card! Thanks for including a link for instructions; I will have to give Iris folding a try sometime.
ReplyDeleteJoelle, your card is gorgeous!! I agree, these are the perfect papers for this... and I love all your little details :o)
ReplyDeleteHi Joelle! Fabulous card! The iris folding is kind of fun to do isn't it? I've only done it with wrapping paper which is much thiner than the B&T paper, I was afraid of bulk too, but your dragonfly doesn't look bulky at all! And I love all the little details. Your mom will love it!
ReplyDeleteI think I can see some math teacher know how showing through! How cool is this dragon fly? Way cool! Your Momma is in for a treat - you may want to have a frame handy! Nice work.
ReplyDeleteSo pretty! Your mom is going to love it! You have inspired me to try something new-iris folding. thanks so much
ReplyDeleteBeautiful!! You rocked this paper with that awesome dragonfly!! Love it :)
ReplyDeleteA really beautiful card - and so intricate! Love it!
ReplyDeleteThis is gorgeous you did a fantastic job with this!
ReplyDeleteHoly cow, what a beautiful card!! Your dragonfly is astonishing and the Wings paper never looked better than in this presentation! Wowie! Excellent work.
ReplyDeleteI'm blown away, gorgeous! Thanks for sharing your instructions.
ReplyDeleteIncredible card! I love the colors and the layout and all of the extras as well.
ReplyDelete